Discussions
To view the discussions, click the Discussions option as shown.

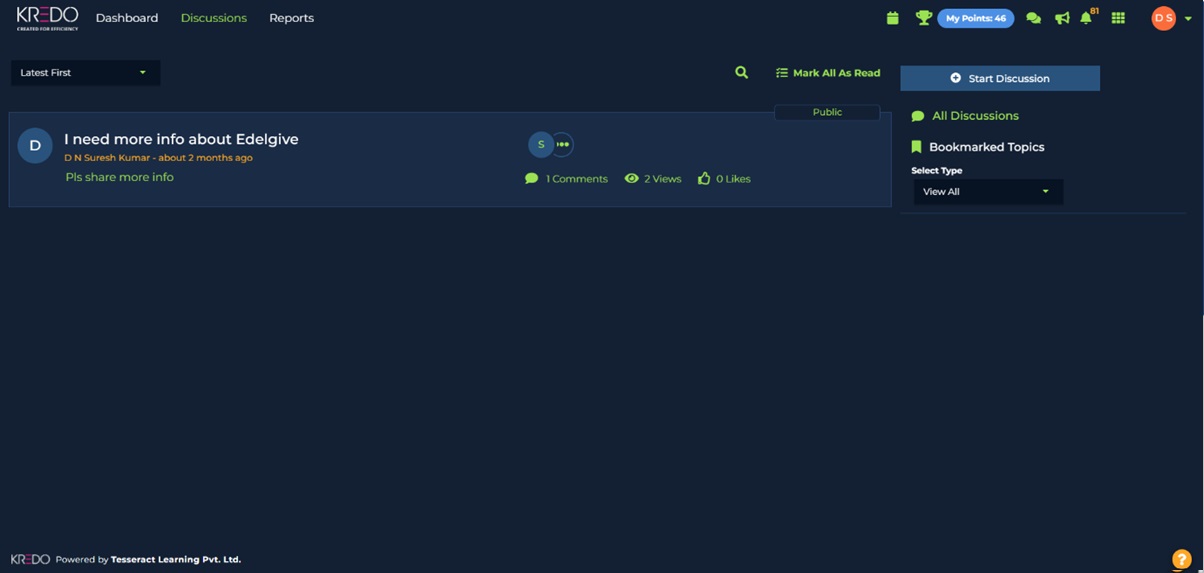
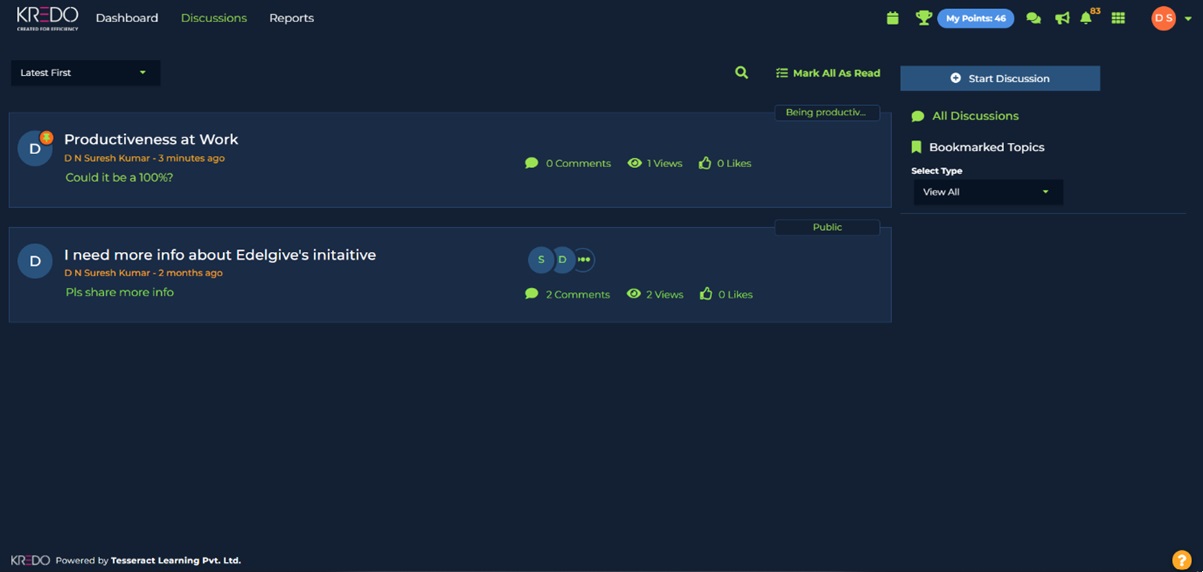
The list of existing discussions appears on this page. By default, the filter value is Latest First. The other values in this field are Trending Topics and My Topics. Based on the value chosen, the discussions will appear accordingly. The other default value once this page loads is All Discussions.
Clicking the option Bookmarked Topics, gives the screen as shown. This indicates that the comment that was visible earlier wasn’t bookmarked. To get back to viewing all the discussions, click the All Discussions option.

The comment shown has been added by the same logged in user. To view the comments added for this discussion, click the option for comments as shown.

Since the owner of this discussion is the logged in user, this discussion can be both edited and deleted by clicking the Edit and Delete options respectively.

The existing comment for this discussion appears as shown below. The time when the comment was added, appears to the right of the name of the person who added the comment. To add a new comment, click the option Add Comment….. Since the existing comment has been added by another Learner, the Learner who has logged in currently does not have edit and delete rights. The comment can only be liked.

The panel to add a comment appears as shown.

Enter the relevant comments. Basic capabilities to format the text are available, including an option to attach image files, which is done by clicking the last icon in the tool bar, and then click the Add button.

The newly added comment as it appears. For a newly added comment, the likes will show as 0. To edit or delete the comment, click the Edit or Delete options respectively.

Starting a Discussion
To start a new discussion, click the Discussions option and then click the button Start Discussion.

A new discussion starts from the screen as shown below.

Enter the discussion title, select the discussion type, and enter the discussion details. The discussion type can also be Public and Group. If the value Course is chosen, then the relevant course must be selected. However, if the value Group is chosen, then the relevant group name must be selected.

Another unique capability is the ability to record a video and add into the discussion, upload a video to the discussion or even enter a URL to access a video. This is done by clicking the last icon in the tool bar.
The three options appear as shown below:

Clicking the option Record Video gives the screen shown below.

Clicking the option Upload Video gives the screen shown below.

Clicking the option Enter Video URL gives the screen shown below.

To save the discussion, click the Save button.

The new discussion appears as shown.

Bookmarking a Discussion
To bookmark a discussion, click the new discussion that was just created.
The view shown appears. Click the option Bookmark.

Once a discussion is bookmarked, the screen appears as shown. To remove the bookmark, click the option Bookmarked. To edit and delete the discussion, click the Edit or Delete button, respectively.

Go back to the main page where all the discussions are seen.

Under Select Type, select the option Course and select the course name as shown below.

The course created earlier now appears.

Go back to the main page where all the discussions are seen. Click the option Bookmarked Topics.

This is the view that appears.
